Christmas Pinwheel Cookies
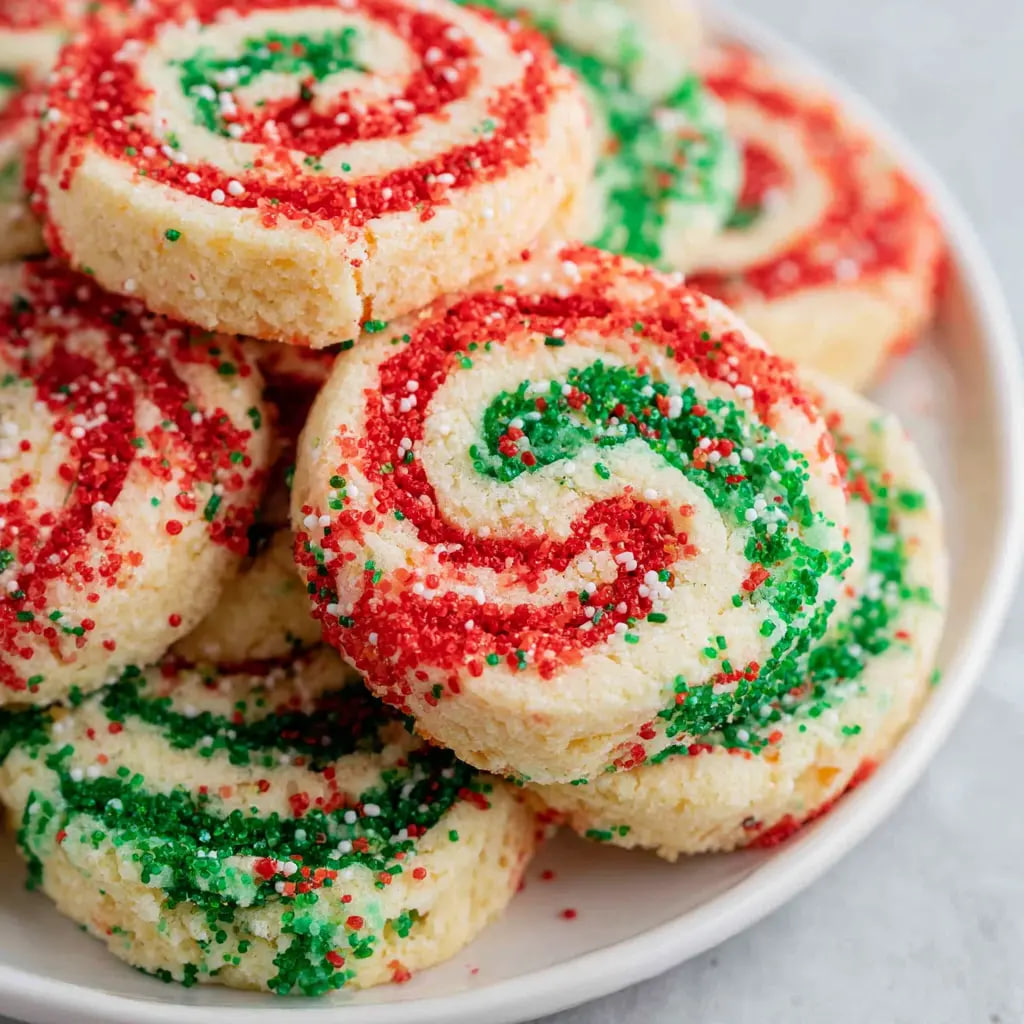
There’s something about slicing into a log of pinwheel cookie dough and seeing those perfect red-and-green spirals that makes the holidays feel official. These Christmas Pinwheel Cookies are as stunning to look at as they are to eat — buttery, crisp, and swirled with color that turns every cookie tray into a showpiece. They look like they took hours of professional pastry work, but the truth is they’re just two simple doughs rolled together. That’s the whole trick.
Every year, these are the cookies that get photographed first, requested most, and fought over last. Kids are mesmerized by the spirals. Adults can’t stop reaching for one more. They’re the kind of recipe that makes you the legendary baker of your friend group with surprisingly little effort. Whether you’re building a holiday cookie box, bringing a plate to a party, or shipping treats to someone you love, pinwheel cookies are the move. This recipe is one of the most eye-catching holiday bakes in our 90+ recipe collection, and it sits right alongside other festive favorites that make December baking feel joyful instead of stressful. Everything in the book is built for home cooks who want gorgeous results without the headache.
Ingredients List
For the vanilla dough:
- 1½ cups all-purpose flour
- ¼ teaspoon baking powder
- ¼ teaspoon salt
- ½ cup (1 stick) unsalted butter, softened
- ½ cup granulated sugar
- 1 egg yolk
- 1 teaspoon pure vanilla extract
- 1 tablespoon whole milk
- Red or green gel food coloring
For the chocolate dough:
- 1½ cups all-purpose flour
- ¼ cup unsweetened cocoa powder
- ¼ teaspoon baking powder
- ¼ teaspoon salt
- ½ cup (1 stick) unsalted butter, softened
- ½ cup granulated sugar
- 1 egg yolk
- 1 teaspoon pure vanilla extract
- 1 tablespoon whole milk
Substitution Options:
Skip the food coloring entirely and make a classic vanilla-chocolate spiral — it’s equally beautiful. For a peppermint twist, replace the vanilla extract in the colored dough with ½ teaspoon peppermint extract. Use gluten-free flour with ½ teaspoon xanthan gum if your blend doesn’t include it. Vegan butter works here — just make sure it’s cold enough to roll without getting sticky.
Timing
- Prep Time: 25 minutes
- Chilling Time: 2 hours (or overnight)
- Cook Time: 10–12 minutes per batch
- Total Time: About 3 hours (mostly hands-off chilling)
The actual hands-on work is around 25 minutes — making two doughs and rolling them together. The fridge does the heavy lifting after that. This is one of the best make-ahead holiday cookies because the dough logs can sit in the fridge for 3 days or the freezer for 2 months. Slice and bake whenever you need a fresh batch. That prep-now-bake-later approach is a cornerstone of our recipe ebook — smart planning that keeps holiday baking stress-free.
How to Make It
1. Make the Vanilla Dough
Whisk together the flour, baking powder, and salt. In a separate large bowl, beat the softened butter and sugar on medium speed for 2 minutes until pale and fluffy. Add the egg yolk, vanilla, and milk, beating until combined. Add the dry ingredients on low speed and mix until a smooth dough forms. Add gel food coloring — red or green — and knead briefly until the color is even throughout with no streaks. Wrap tightly in plastic wrap and refrigerate.
2. Make the Chocolate Dough
Whisk together the flour, cocoa powder, baking powder, and salt. In another bowl, cream the butter and sugar the same way. Add the egg yolk, vanilla, and milk, then the dry ingredients on low speed until smooth. The dough should be soft but not sticky. Wrap in plastic and refrigerate both doughs for at least 30 minutes until firm enough to roll without sticking.
3. Roll and Stack
Place the vanilla dough between two sheets of parchment paper and roll into a rectangle roughly 10×12 inches and about ¼ inch thick. Do the same with the chocolate dough, matching the size as closely as possible. Peel the top parchment off both, then flip one dough directly onto the other. Press gently with the rolling pin to bond the layers together. Peel off the remaining parchment.
4. Roll Into a Log
Starting from the long edge, roll the stacked doughs tightly into a log, using the parchment underneath to help guide it. Roll slowly and keep it tight — loose rolling creates gaps in the spiral instead of clean, defined swirls. Once rolled, wrap the log tightly in plastic wrap, gently reshape it into a smooth cylinder, and refrigerate for at least 2 hours or overnight until very firm.
5. Slice and Bake
Preheat your oven to 350°F and line baking sheets with parchment paper. Using a sharp knife, slice the log into rounds about ¼ inch thick. Rotate the log slightly after each cut to prevent one side from flattening. Place the rounds 1 inch apart on the prepared sheets. Bake for 10–12 minutes until the edges are just set and barely starting to turn golden. The centers should look slightly underdone — they firm up as they cool.
Nutritional Information
Per cookie (1 of about 36): approximately 95 calories, 5g fat, 12g carbs, and 1g protein. These are a classic butter cookie — the richness comes from real butter and a touch of cocoa, with no heavy creams or frostings adding extra weight. Compared to frosted or filled holiday cookies, pinwheels are actually one of the lighter options on the cookie tray.
Healthier Alternatives
Reduced butter: Replace ¼ cup of butter in each dough with ¼ cup unsweetened applesauce — the cookies will be slightly softer but still hold their shape. Whole grain: Swap half the all-purpose flour for white whole wheat flour in both doughs. The cocoa in the chocolate dough hides any difference in taste. Lower sugar: Reduce the sugar in each dough to ⅓ cup — the visual appeal and buttery flavor still carry each cookie. Natural coloring: Use beet powder instead of gel food coloring for the red dough — about 1 tablespoon gives a beautiful natural crimson. Find more naturally sweetened and wholesome baking alternatives in our complete collection.
Serving Suggestions
These cookies belong front and center on every holiday cookie platter. Stand a few upright so the spirals are fully visible — they’re the ones everyone reaches for first. Stack them in a clear cellophane bag tied with ribbon for a gift that looks like it came from a boutique bakery. Layer them in a tin with wax paper for shipping — they’re sturdy enough to travel well without crumbling. Pair with coffee, hot chocolate, or a glass of cold milk. Make a double batch of each color — red and green — and alternate them on the platter for maximum holiday impact.
Common Mistakes to Avoid
Not chilling the dough enough is the most common problem — warm dough sticks, tears, and won’t hold its spiral shape. If it starts getting soft while you’re rolling, slide it back in the fridge for 15 minutes. Rolling too loosely creates air gaps in the center that show up as holes when you slice. Keep consistent, firm pressure as you roll. Uneven dough thickness means one color dominates the spiral — take time to match the rectangles as closely as possible. Using liquid food coloring adds moisture that throws off the dough’s texture — always use gel. Slicing with a dull knife drags the dough and smashes the spiral — use your sharpest knife and wipe the blade clean every few cuts.
Storing Tips
Baked cookies stay fresh in an airtight container at room temperature for up to a week. Refrigerated for up to 2 weeks. The unbaked dough log is where the real magic is — it keeps in the fridge for 3 days or the freezer for up to 2 months wrapped tightly in plastic. Slice directly from frozen, adding 1–2 minutes to the bake time. Making 3 or 4 logs in one session and freezing them means you can have fresh-baked pinwheel cookies in 15 minutes whenever you want them all season long.
Conclusion
Christmas Pinwheel Cookies are the recipe that makes you look like an absolute star with a fraction of the effort people assume went into them. Those gorgeous spirals, that buttery snap, the festive colors — every detail says “I spent all day on these” when really the fridge did most of the work. They’re elegant, fun, endlessly customizable, and the kind of cookie that turns a simple tin into a meaningful gift.
If these pinwheels just became your new holiday signature, there’s so much more waiting inside our complete 90+ recipe collection. Festive baking recipes, easy weeknight dinners, and family favorites — all designed for real home cooks who want beautiful results without the stress. Grab your copy today and make this your most impressive baking season yet.
FAQs
Why did my spirals have gaps in the center? The dough was rolled too loosely. Next time, keep firm, even pressure from the starting edge and roll slowly. If the dough is too cold and stiff, let it sit at room temperature for 5 minutes before rolling — it should bend without cracking.
Can I make both doughs the same flavor and just use two colors? Absolutely — make a double batch of the vanilla dough, split it in half, and color each half differently. Red and green together, or any color combination you like. The taste is the same, but the visuals are completely your choice.
How thick should I slice them? About ¼ inch — roughly the thickness of a coin stack of three quarters. Thinner slices give crispier cookies, thicker slices stay slightly softer in the center. Both are great, just be consistent so they bake evenly.
Can kids help make these? This is one of the best holiday baking projects for kids. They can mix dough, knead in the color, and help roll the log. Slicing is best left to adults, but kids love watching those spirals reveal themselves with each cut.
Can I do more than two colors? Yes — for a rainbow version, divide the vanilla dough into multiple portions, color each one, roll them into thin sheets, stack them all together, and roll into a log. It takes more patience but the result is absolutely spectacular.